Installing the Perfect Starlink Mini Mount: A Complete Guide
Understanding the Starlink Mini Mount
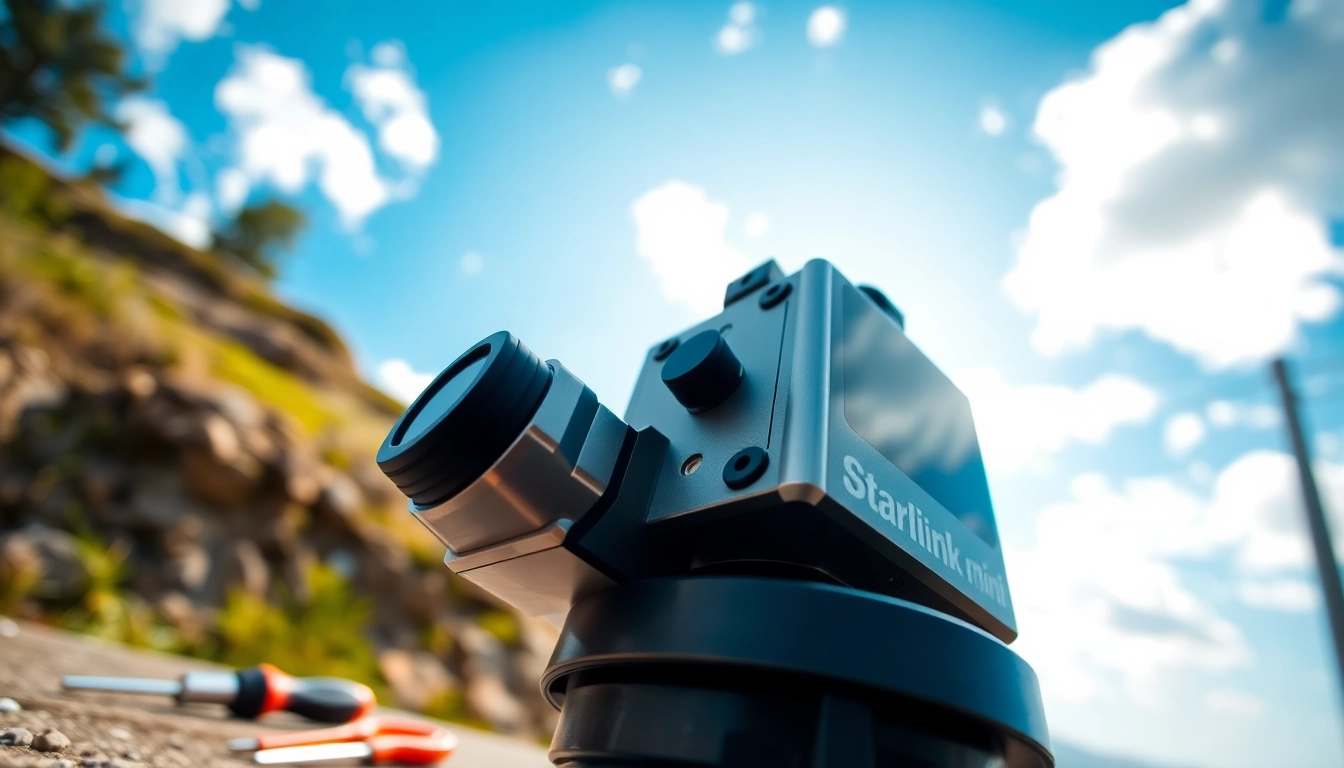
What is a Starlink Mini Mount?
The starlink mini mount is an essential accessory designed for the Starlink satellite internet system. This particular mount allows users to easily and securely install their Starlink dish in various locations, enhancing the satellite’s ability to receive signals from orbiting satellites. With a compact design, the Starlink mini mount is particularly suited for residential users and those who require a portable setup, making it a versatile solution for improving internet connectivity in remote or underserved areas.
Key Features and Benefits
The Starlink mini mount is equipped with several features that enhance its usability and effectiveness, such as:
- Durable Construction: Made from high-quality materials, this mount is built to withstand harsh weather conditions, ensuring that your satellite dish remains securely in place.
- Easy Installation: Designed for quick assembly, even individuals with minimal technical knowledge can easily install the mount.
- Adjustable Angles: The mount allows for multiple angle adjustments, ensuring the dish can be positioned optimally to receive the best signals.
- Compact Size: Its sleek design makes it perfect for limited spaces, whether mounted on a wall, roof, or even on a stand for temporary setups.
- Portability: Users can easily disassemble the mount and transport it, making it ideal for camping, temporary rentals, or relocation.
Common Uses for Starlink Mini Mount
The versatility of the Starlink mini mount makes it suitable for various applications. Common uses include:
- Residential Installations: Homeowners utilizing satellite internet for remote work, online schooling, or general streaming needs.
- Mobile Environments: RV users who want reliable internet access while traveling or camping.
- Temporary Deployments: For events, outdoor festivals, or remote job sites where temporary internet access is required.
- Remote Areas: Perfect for locations where traditional internet infrastructure is unavailable or unreliable, ensuring connectivity in even the most secluded areas.
Choosing the Right Location for Your Mount
Factors Influencing Placement
Selecting the optimal location for your Starlink mini mount is critical for effective signal reception. Here are key factors to consider:
- Field of View: Your mount should have an unobstructed view of the sky to ensure a clear line of sight to orbiting satellites.
- Proximity to Power Source: Consider placing the mount near an electrical outlet or have a power solution available for your equipment.
- Weather Conditions: Assess local weather patterns, as severe conditions can affect signal strength; an elevated position may help avoid obstructions caused by snow or foliage.
Optimal Height and Angle
For optimal performance, the elevation of the Starlink dish should be adjusted according to local geography. General recommendations include:
- Height: Mount the dish at least 2 meters above ground level to reduce interference from buildings or trees.
- Angle: Adjust the angle of the dish (typically between 30-45 degrees) based on your geographical coordinates and satellite positions.
Assessing Surrounding Obstructions
Obstruction assessment is crucial. Use a clear space measurement tool or app to visualize obstacles such as:
- Tall trees or structures
- Power lines
- Hills or mountains in the area
Mapping these obstructions will aid in determining the best equipment placement.
Installation Steps for the Starlink Mini Mount
Essential Tools and Equipment
Before you begin the installation process, gather the following tools:
- A level
- Drill with appropriate drill bits
- Wrench and screwdriver set
- Measuring tape
- Safety goggles and gloves
Step-by-Step Installation Process
The installation process for the Starlink mini mount includes these essential steps:
- Select Mounting Location: Choose an appropriate location based on factors discussed earlier.
- Position the Mount: Use a level to ensure the mount is even before marking drill points.
- Drill Holes: Pre-drill holes where indicated, ensuring that the surface is stable and secure.
- Secure the Mount: Attach the mount securely, using the provided hardware to connect it to your surface of choice.
- Connect the Dish: Attach the Starlink dish to the mount following the manufacturer’s guidelines.
- Test Signal: Once installed, test the signal strength to confirm optimal alignment.
Safety Precautions During Installation
Adhering to safety precautions is crucial throughout the installation process:
- Wear protective eyewear and gloves.
- Ensure the area is free from hazards like power lines when drilling.
- Check for stable footing when using ladders or working at heights.
Adjusting and Maintaining Your Starlink Mini Mount
How to Make Final Adjustments
Once installed, follow these steps to make final adjustments to the Starlink mini mount:
- Confirm the dish is firmly secured to the mount.
- Adjust the angle and height of the dish for optimal signal reception.
- Use a signal meter or an app to check for the best alignment.
Regular Maintenance Tips
To ensure long-term performance, regular maintenance is essential. Consider the following tips:
- Periodically check all mount connections for tightness.
- Inspect for corrosion or wear on the mount and dish.
- Cleansing the dish with a gentle soap and water solution can eliminate algae and debris that may interfere with signal reception.
Identifying and Troubleshooting Common Issues
If you encounter issues with your connection, consider troubleshooting methods:
- Check that the dish is unobstructed and properly angled.
- Verify all cables and connections are secure.
- Consider repositioning the dish if you experience fluctuating speeds or connectivity.
Enhancing Performance of the Starlink Mini Mount
Additional Accessories for Better Functionality
Several accessories can enhance the performance of the Starlink mini mount, including:
- Signal Boosters: These devices amplify the satellite signal for improved reliability and performance.
- Weather Protection Covers: Protect your dish from extreme weather, ensuring consistent functionality.
- Cable Management Accessories: Keep cables organized and protected from wear and tear.
Networking Setups to Consider
Depending on your internet requirements, consider the following networking setups:
- Mesh Network: Create a seamless Wi-Fi experience throughout your property, eliminating dead zones.
- Dedicated Router: Using a dedicated router for your Starlink connection can help manage bandwidth distribution effectively.
- Offline Access Points: For remote areas, consider battery-powered access options that allow for connectivity during power outages.
Monitoring Performance Metrics
To evaluate the performance of your Starlink setup, monitor the following metrics:
- Latency: The amount of time it takes for data to travel from your device to the satellite. A lower number is preferable.
- Download and Upload Speeds: Use speed tests to ensure your internet connectivity meets your needs.
- Signal Strength: Continually check for consistent signal quality; subscribe to monitoring software if necessary.